Painting is one of the most effective ways to refresh or transform a space. A new coat of colour can brighten a room, highlight architectural details, and create an entirely new atmosphere. For beginners considering how to paint walls, the process may seem daunting at first, but with the right approach, professional-looking results are achievable. The key lies in preparation, selecting the right tools, and applying a reliable painting technique for walls.
Whether undertaking a full makeover or simply updating a single room, following practical wall painting tips ensures the finish is smooth, durable, and visually striking.
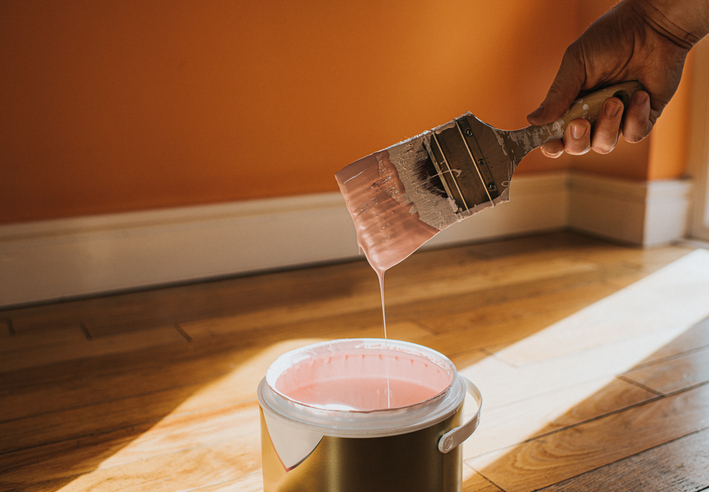
Paint 101: Understanding the Basics
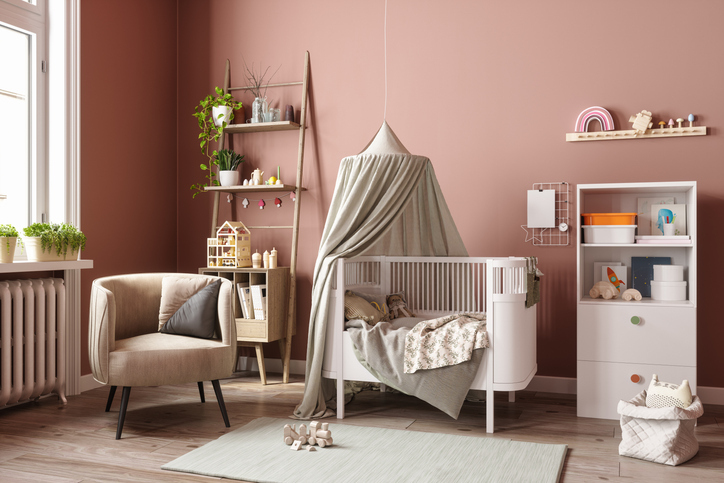
Satin paint is perfect for a child's bedroom (Credit: onurdongel via Getty Images)
Different paint finishes create distinct effects, each suited to particular spaces and needs.
- Matt: Provides a smooth, non-reflective surface that disguises imperfections, making it popular for bedrooms, living rooms, and ceilings.
- Eggshell: Has a subtle sheen, adding durability while maintaining a soft look, ideal for dining rooms and hallways.
- Satin: Offers a gentle lustre that withstands scrubbing, often chosen for kitchens, bathrooms, and children’s rooms.
- Semi-gloss: Provides noticeable shine and resists moisture, making it well-suited to doors, trim, and high-traffic areas.
- Gloss: Creates a polished, striking effect, commonly reserved for woodwork and feature elements.
Selecting the right finish is one of the most important tips for painting a room, as it influences both the look and durability of the space.
Choosing Colour

Every wall is a creative opportunity! (Credit: vgajic via Getty Images)
Colour dramatically affects the feel and function of a room. Pale shades can make small spaces feel more expansive, while deeper tones add cosiness and drama. But paint never exists in a vacuum – natural and artificial lighting will influence how a colour looks throughout the day. Testing patches in multiple locations helps avoid surprises.
One popular trick when considering how do you paint a wall successfully is to apply test swatches on a canvas board. The board can then be moved around the room to view the colour in different lighting conditions before committing to a final choice.
Tools of the Trade
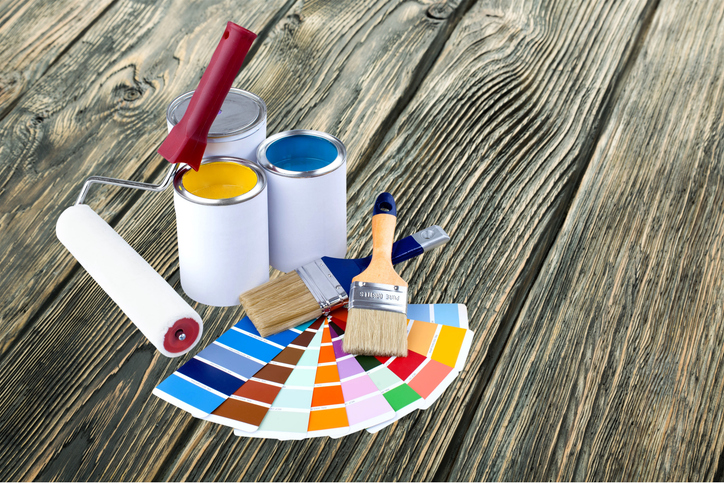
The tools of the trade (Credit: artisteer via Getty Images)
Achieving professional results depends heavily on using the right tools.
- Brushes: Ideal for corners and trim, with synthetic bristles for water-based paints and natural bristles for oil-based options.
- Rollers: Efficient for large surfaces; short nap for smooth walls, medium or long nap for textured surfaces.
- Trays and Liners: Keep paint accessible and minimise cleanup.
- Accessories: Masking tape ensures crisp edges, extension poles reach ceilings, dust sheets protect furniture, and polyfiller repairs imperfections.
Many beginners focus on colour selection but overlook equipment. In reality, investing in quality tools is one of the most effective wall painting tips for achieving a finish that looks truly professional.
Prep, Prep, and More Prep
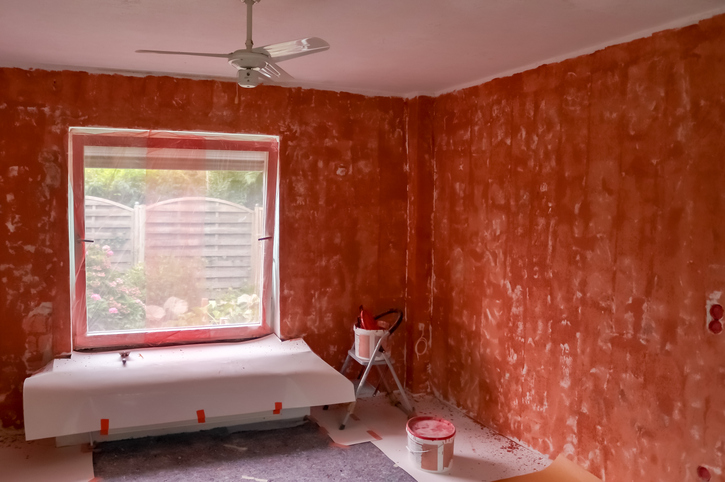
Prep and primer leads to polished not patchy (Credit: Michael Piepgras via Getty Images)
Of all the wall painting tips, many would argue success begins well before the paint is poured. Proper prep work ensures paint adheres correctly, hides imperfections, and lasts longer. Key steps include:
- Clearing the room: Removing or repositioning furniture prevents damage and allows unobstructed access to walls. Items that cannot be moved should be covered with protective sheets.
- Repairing surfaces: Cracks, dents, and small holes need to be filled, while peeling paint and uneven areas benefit from sanding to create a uniform base.
- Cleaning walls: Dust, grease, and dirt can prevent adhesion, so surfaces should be wiped down before painting begins.
- Protecting edges and floors: Painter’s tape around skirting boards, trims, and ceilings ensures crisp lines, while floor coverings guard against splashes and spills.
- Applying primer: On porous surfaces or over darker shades, a primer helps achieve an even, vibrant finish.
Thorough preparation ultimately determines whether walls look polished or patchy once painted.
Cutting In with Confidence
Cutting in ensures a perfect finish (Credit: Studio Light and Shade via Getty Images)
Cutting in creates neat lines where walls meet ceilings, skirting boards, or trim. Using an angled brush, painters carefully define edges before rolling the main wall. This method prevents uneven overlaps and gives the room a crisp, professional appearance. For those learning how to paint walls, mastering cutting in is just as important as rolling. It is the step that transforms a DIY job into a finish that looks like it came from a professional decorator.
The Right Way to Roll
Almost finished, just one more bit... (Credit: South_agency via Getty Images)
Painting a wall with a roller delivers smooth, even coverage when approached methodically. The painting technique for walls follows a sequence of steps:
- Preparing the roller: The sleeve is slightly dampened with water for water-based paint, or white spirit for oil-based paint, allowing better absorption and reducing streaks.
- Loading with paint: After the tray is filled with paint, the roller is coated in the tray, rolled back and forth across the ridged area to remove excess.
- Creating the “W” or “M”: Usually starting in a top corner, a large zig-zag shape is rolled onto the wall without lifting the roller, distributing paint evenly.
- Smoothing out coverage: The pattern is then filled in with long, overlapping vertical strokes, blending the paint into an even layer.
- Repeating in sections: Each area is completed while the edges remain wet, reducing lap marks.
Knowing how to paint a wall with a roller the right way ensures even coverage and a finish free of streaks or blotches.
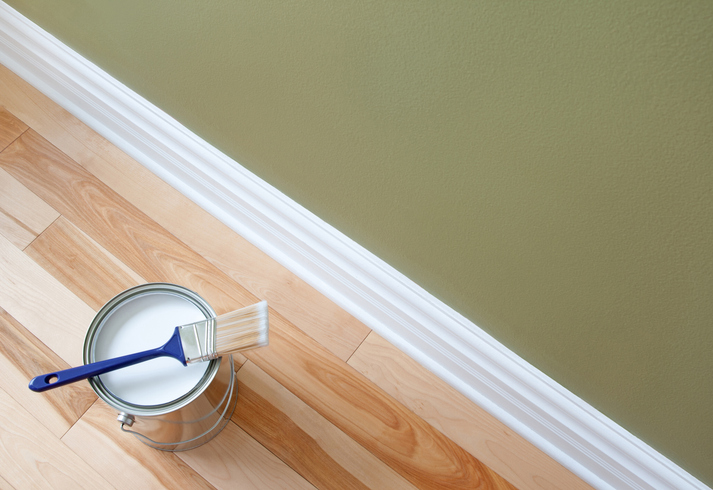
Drying Time and Ventilation
It's like watching paint dry... (Credit: Charday Penn via Getty Images)
Once applied, paint needs time to dry and cure. The drying time should be listed on the paint tin. Generally, water-based paints often dry to the touch within hours but may take several days to reach full durability. Oil-based varieties can take even longer. Good ventilation accelerates this process and helps disperse fumes. That means opening windows, and perhaps using fans. And, of course, avoiding touching the walls too soon.
Extra Tips
Stirring your paint ensures consistency of colour (Credit: Daisy-Daisy via Getty Images)
A few extra touches can make painting more efficient and the results longer lasting.
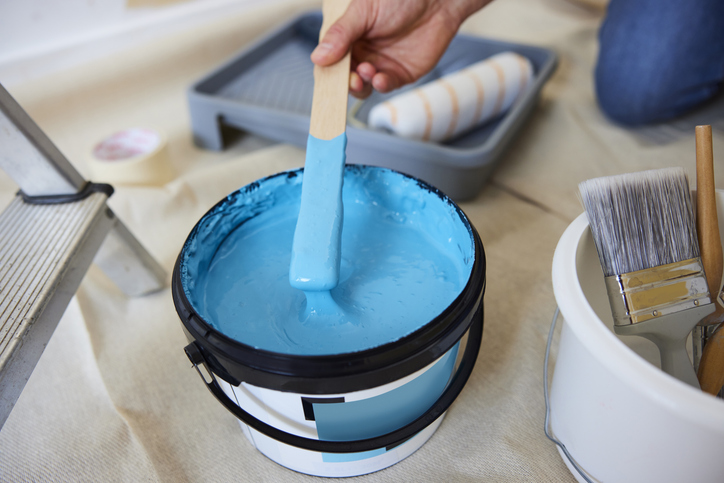
- Stirring paint thoroughly before use ensures colour consistency across the wall.
- Using a paint grid inside a bucket reduces spills and provides easier loading than a tray.
- Wrapping brushes and rollers in plastic film between coats keeps them from drying out, saving time on cleaning.
- Removing tape before the paint fully hardens creates crisper edges.
- For added durability, high-traffic areas benefit from a washable finish.
Small habits such as these not only streamline the process but also contribute to a professional-looking result.
Keeping Safe
Ensure your ladder is safe and stable (Credit: Kseniya Ovchinnikova via Getty Images)
Safety is an essential part of any painting project, ensuring the process remains accident-free and comfortable.
- Adequate ventilation: This reduces exposure to paint fumes, especially when working with solvent-based products.
- Protective equipment: Items such as gloves, goggles, and masks help shield skin, eyes, and lungs from irritation.
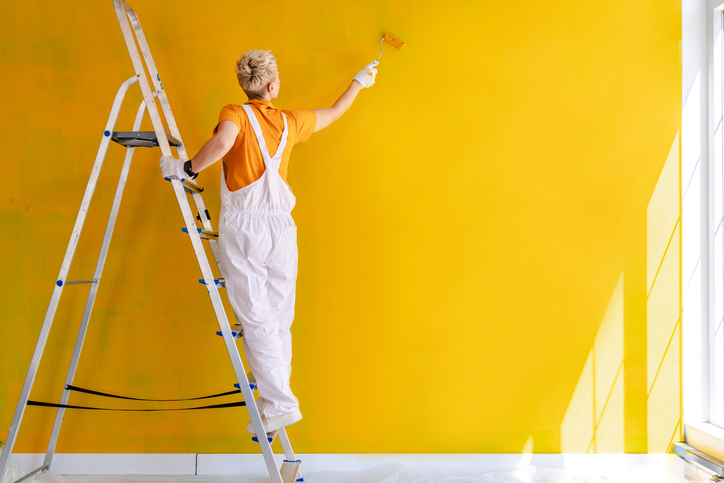
- Ladder Placement: Ladders should be placed on stable, level ground and never overreached from, reducing the risk of falls.
- Covering Electrics: Electrical outlets and switches benefit from being covered to avoid accidental splashes.
Rolling to the Finish Line
Happy painting! (Credit: Catherine Falls Commercial via Getty Images)
And so, we’ve explored the answer to the question at hand: just exactly how do you paint a wall like the pros? Success lies in the preparation, the right tools, and careful technique. From selecting finishes and colours that suit each space, to mastering cutting in and rolling, every step contributes to a finish that looks polished and professional. Safety and efficiency also play their part, ensuring the process remains smooth from start to finish.