Paper mache crafts, where your imagination has no limits and you can create an extraordinary universe with your own hands! This age-old art form, with its roots in various ancient civilizations including China, Egypt, and Persia, is not only a wonderfully sustainable and cost-effective way to unleash your inner artist, but also a rewarding activity that appeals to people of all ages.
From fun and whimsical sculptures to beautiful home decor, these paper mache projects provide a range of possibilities for self-expression and creativity. So, let’s dive into this world of magical creations, explore the captivating history of paper mache, and learn how you can fashion your own masterpieces!
From beginner paper mache crafts to projects for crafting connoisseurs, we’ve got some great ideas for you to make at home.
What is Paper Mache?
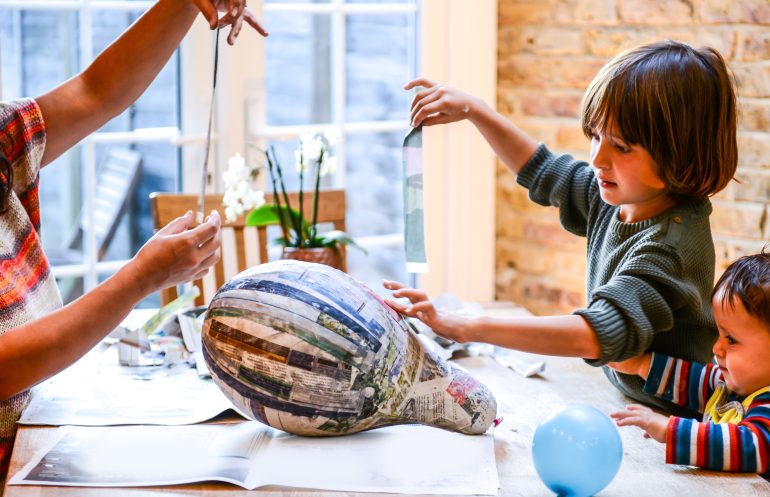
Children playing with paper mache. (Credit: Bonfanti Diego via Getty Images)
The words paper mache come from the French papier-mâché which literally means ‘chewed paper!’
It is believed the Imperial Chinese were the first to make paper mache projects – including helmets for warfare, ceremonial masks and trinket boxes around 1,800 years ago. Since then, many of the world’s great civilisations such as the Egyptians, Persians, Japanese and Indians have developed their own methods of paper mache crafts.
In early eighteenth century Europe, paper mache was used in architecture as a low-cost alternative to plaster or wood. In Mexico, cartoneria is a traditional paper mache handicraft dating back 1,500 years or more that is still in practice today.
Paper Mache Art Projects - Tools of the Trade
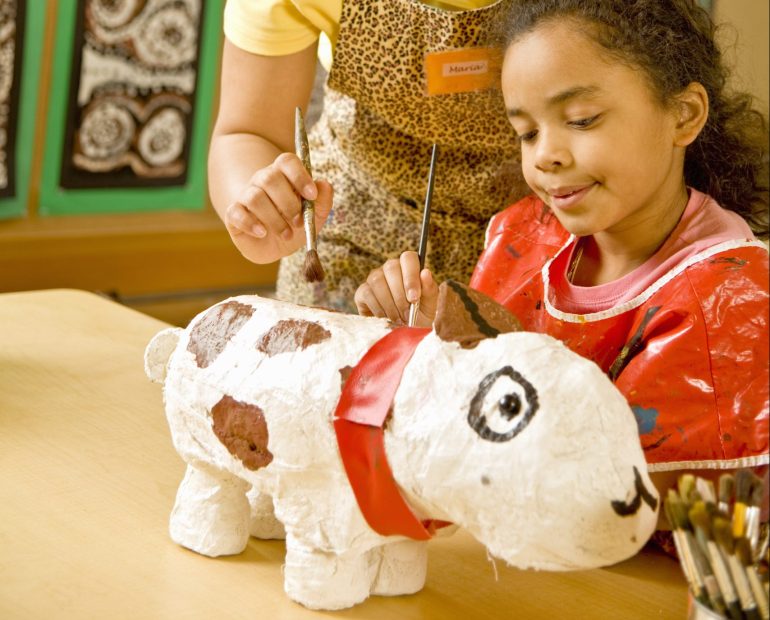
A young girl painting her paper mache dog creation. (Credit: Big Cheese Photo via Getty Images)
To start making awesome but easy paper mache crafts, you need to make a paste, and you can do it in one of two ways.
The first method is to combine one part flour to two parts water and mix it up until the paste is smooth and free of lumps. You can also add a couple of tablespoons of salt to stop mould growing. If it’s too runny, add a little more flour. If it’s too thick, add a little more water. You want roughly the consistency of pancake batter.
The second way to make paper mache paste is to use basic school glue mixed with water to get the same consistency. It doesn’t create mould so you won’t need salt but it is inevitably a bit stickier than the flour and water mixture.
The only other thing you need is paper! Usually the best type of paper to use is newspaper because it’s thin and absorbs water very well.
Depending on what you want to make, you’ll need moulds, balloons and other things to create your paper mache crafts. If you need to use wire or scissors, please ensure an adult undertakes these tasks. The only other thing to mention is that the ideas below are just that, ideas. Feel free to be as creative as you like!
Perfect Paper People

A paper mache head being decorated. (Credit: nemke via Getty Images)
One of the easiest beginner paper mache crafts is to make representations of people! Use rolled up tinfoil to form each of the individual body parts – head, body, legs and arms – and then cover each bit in 2-3 layers of paper mache. Once it’s dry, the individual body parts can be painted and glued together.
Egg-cellent Easter Nests
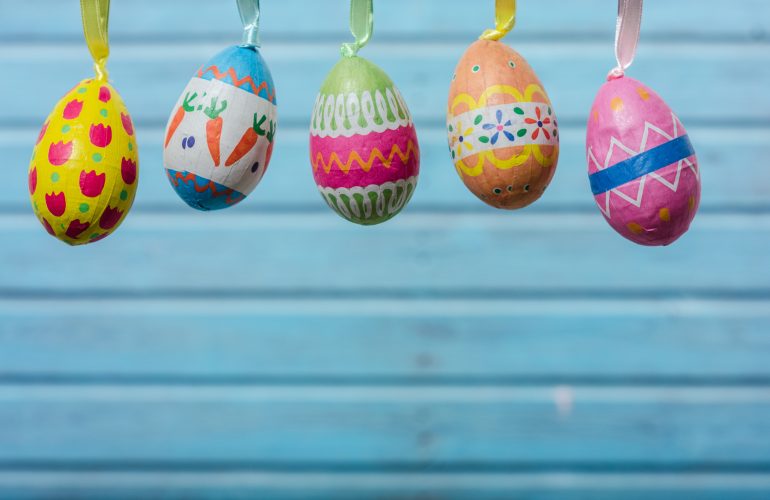
Papier mache Easter eggs (Credit: AndreaScala via Getty Images)
Partly cover the top half of a blown-up party balloon with thin strips of paper mache and, for some colour, use paper from a magazine. Keep the weave open so it looks like a proper nest of twigs. Once it’s dry, carefully remove it from the balloon and fill it with yummy chocolate eggs for one of the great Easter paper mache art projects.
Terrifying T-Rex

A young girl making a paper mache dinosaur. (Credit: Peter Dazeley via Getty Images)
Dinosaurs are the all-time classic paper mache projects and they’re so much fun to make! Start off with a balloon body and then you can use all sorts of stuff you’ll probably have at home for the rest of the t-rex once the balloon has been covered in paper mache. You can use rolled-up tin foil for the legs, a toilet roll for the neck and some scrunched up paper for the head. When it dries, paint it. If that was fun, you can always make a brontosaurus, velociraptor or a stegosaurus!
Brilliant Bowls

A bowl made from paper mache. (Credit: JGalione via Getty Images)
Easy paper mache crafts ideas don’t come much easier than these bowls! Blow up one small, one medium and one large party balloon and cover the top half in paper mache. Once they’re dry, carefully take them off the balloons and paint them. They are great as decorative pieces on your mantelpiece or to use as actual bowls for keys, coins, Lego pieces you find all over the house or anything you like!
Joyful Jellyfish
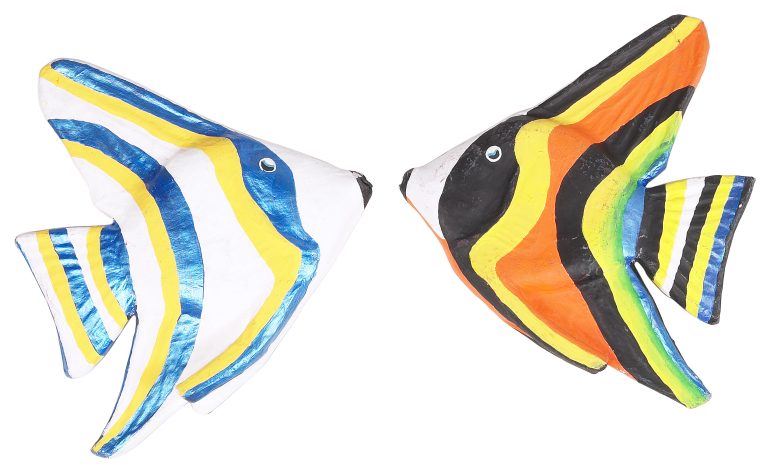
Papier mache fish (Credit: Hemera Technologies via Getty Images)
This one is lots of fishy fun! All you need to do is follow the instructions above for making paper mache bowls. Once they’re made, paint them inside and out in the colours of the sea and then turn them upside down and from the inside, hang strips of tin foil, coloured pipe cleaners or streamers of coloured paper to imitate the tentacles. Carefully make a small hole in the top and you can hang them from the ceiling using string in a smack – that’s the collective noun for a group of jellyfish!
Pretty Plant Pots
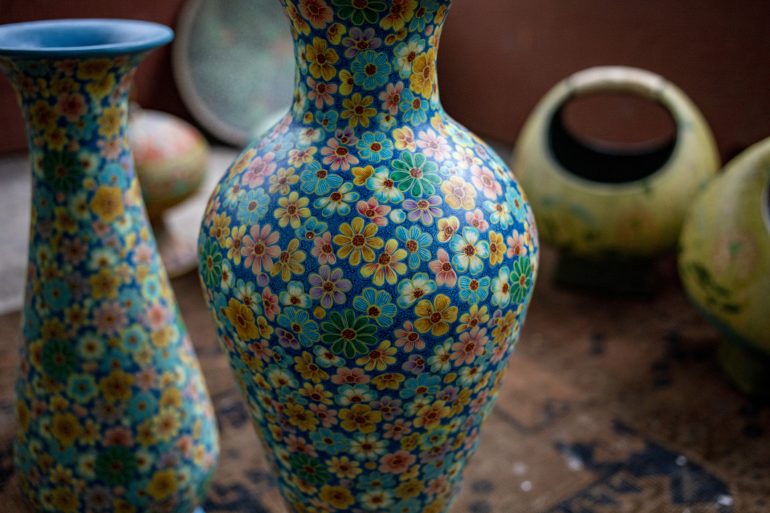
An exquisite papier mache flower vase (Credit: Akshay Kerlekar via Getty Images)
These plant pots combine easy paper mache crafts ideas with upcycling. For this one you need scissors or a craft knife so please make sure an adult does the cutting. First, cut the pop bottle in half and cover it in 2-3 layers of paper mache. Once it has been covered and it’s dry, paint it white. You may need a couple of coats so the newspaper print doesn’t show through. Next, you can decorate it with pretty napkins or your own artwork and then they’re ready to be filled with soil and seeds, or a pot plant, herbs, indeed anything you like! A few sitting on your windowsill will look amazing!


