There are few things more pleasurable than a wonderful world of colourful fabrics and threads, just waiting to be transformed into a huggable DIY stuffed animal, cartoon character, or the star of your favourite video game! DIY plushies are about pouring your heart, creativity, and a dash of personality into every stitch.
If you’ve never tried it before, you may be thinking that crafting DIY soft toys sounds pretty complicated, an art mastered by only the most skilful fingers. But it’s not as intimidating as it might seem. Just like any other skill, you start off with the basics and with a little bit of patience and practice, you’ll soon find that making homemade stuffed animals is super-satisfying, surprisingly straightforward and a really enjoyable hobby.
Are you ready? Let’s go!
What You Need to Make DIY Soft Toys
Making a handmade soft toy. (Credit: Galina Kondratenko via Getty Images)
So, what’s on the agenda? We’ll dive into everything from the materials and tools you’ll need to patterns and lots of other useful information. We’ll also uncover some handy tips and tricks that’ll make the process feel more like fun and less like a school lesson!
The best part is that you don’t need a mountain of expensive supplies to get started! A few basic materials and a simple pattern are all you need to embark on this exciting escapade.
Here’s a list of the things you’re going to need –
- Needles and thread
- Stuffing
- Pins
- Fabric
- Scissors
- Pattern
- Adornments, like plastic eyes or noses
When it comes to pins or needles, blunt-ended or safety pins can be easier and safer to use, especially for beginners or children. Similarly, beginners may prefer to start with plastic sewing needles.
The fabric you choose for your DIY stuffed animal is also quite important. The easiest fabrics to work with include felt, cotton, faux fur, fleece and flannel because they’re generally pretty soft and pliable. Fabrics such as lace or chiffon aren’t as simple to use because they’re see-through and you’ll see the stuffing coming out when you’re finished. Also, stiff and thick fabrics such as faux leather, vinyl or pleather (plastic fabric manufactured to resemble leather) aren’t as easy to work with for beginners.
Step-by-Step Guide to Creating Your Own Plush Toy

Threading a needle in a plush toy. (Credit: Leren Lu via Getty Images)
Now, you may be thinking ‘I’m not very good at sewing’ or ‘this all sounds too daunting’ but don’t worry, we’ll take you through the steps you need to make some awesome DIY plush toys!
The Sketch
Some people think this is the toughest bit, while others think this is the most fun! Get a pencil and some blank paper and sketch out what you want your plushie to look like. It could be a classic video game character, someone from your favourite film or cartoon, or something altogether original, it’s totally up to you!
The Fabric
Choose the fabric you’d like to make your homemade stuffed animals from. You can buy fabric from most craft shops, or you may even want to use an old flannel shirt or even one of the odd socks in your drawer!
The Pattern
Now, the sketch needs to turn into the pattern you’re going to use to make your DIY plushies. For this step, you have two main options. The first is to copy your sketch onto a larger sheet of paper, while the second is to take it to a printer who will enlarge your sketch onto a bigger and clearer sheet of paper.
The Cutting & The Sewing
Next, you need to pin your paper pattern to the fabric and carefully cut it out, laying each piece of fabric on a flat surface. Once you have the whole pattern cut out, you need to pin the pieces together inside out, tucking in the raw edges. Using a basic running stitch or an embroidery stitch, sew your plushie together but don’t forget to leave a hole for the stuffing. When you’re done, turn your plushie the right way out.
The Stuffing
Stuffing your DIY soft toys is the fun bit! There are a few different types of stuffing you can use, including polyester fibre, polystyrene beads, beans used to fill bean bags, or even old socks or rice!
The Sealing
After you’ve stuffed your toy, stitch the hole closed. Once you’re sure it’s properly sealed you can start to add adornments like facial features and clothing. You can stitch or sew these on.
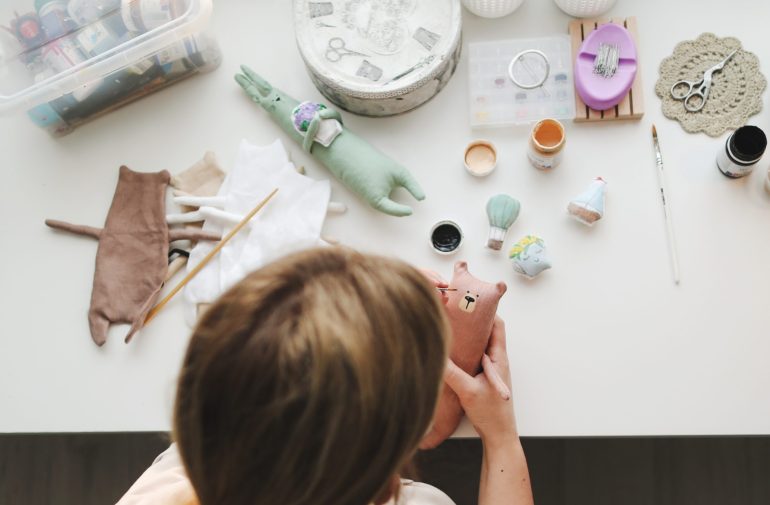
The Pleasure of Plushies

Process of making handmade soft toys. (Credit: Galina Kondratenko via Getty Images)
Making DIY plushies isn’t just a fun and exciting way to spend your time; it’s also an opportunity to unleash your creative potential, design unique gifts for your friends and family, or even kickstart your own imagination! It’s a fab journey packed with creativity, a sense of achievement, and, most importantly, lots and lots of fluffiness!


